How to Turn Wooden Block Heads
Have you ever wanted to create unique, personalized gifts that are not only fun to make but also incredibly versatile? Look no further than turning your own wooden figures! These charming creations, inspired by classic building block characters, are a fantastic project for woodturners of all skill levels. The best part? Their interchangeable headpieces and accessories mean endless possibilities for customization.
In this guide, we’ll walk you through the process of turning a basic figure head and a unique miner’s hat, sharing essential tips and techniques to ensure your creations are perfectly interchangeable.
Why These Figures Are a Must-Make Project
These wooden figures are a hit for several reasons:
-
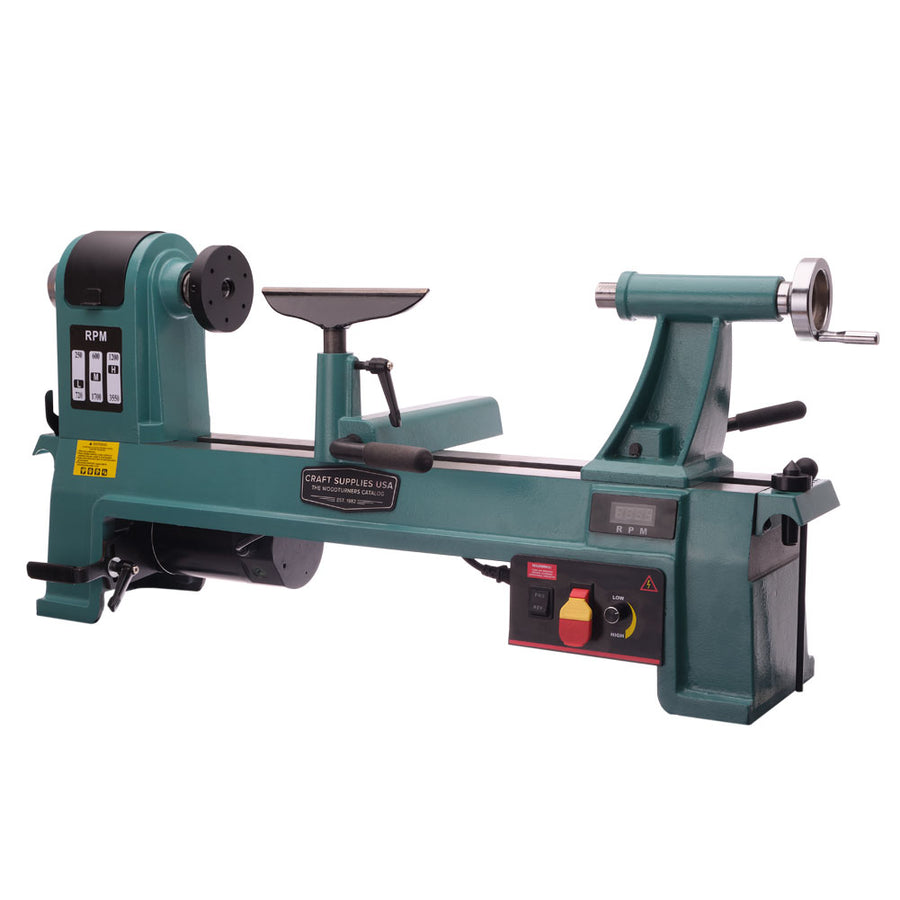
Easy to Make: The fundamental turning techniques are straightforward, making this an accessible project even for those newer to the lathe. And they can easily be turned on a mini lathe or full-size lathe.
-
Highly Customizable: From different hats (bowler, fedora, miner’s helmet, even carved hair) to various faces, the only limit is your imagination. You can even incorporate carving or burning for added detail!
-
Interchangeable Parts: By adhering to specific dimensions, all your headpieces and accessories will fit seamlessly onto any head you turn, allowing for mix-and-match fun.
-
Great for Gifts: They make thoughtful and unique presents for friends and family, and since they’re quick to make, you can easily produce a batch for holiday gifting.
- Scrap Wood Friendly: This project is perfect for utilizing smaller pieces of scrap wood you might have lying around, making it a cost-effective project.
Getting Started: Blank Selection & Safety First
Before you even turn on your lathe, selecting the right wood is crucial, especially for the head that will be painted.
Wood Selection
For the head, since it will be spray-painted yellow, you don’t need highly figured or expensive wood. A 3” x 3” x 4” minimum piece of maple is ideal.
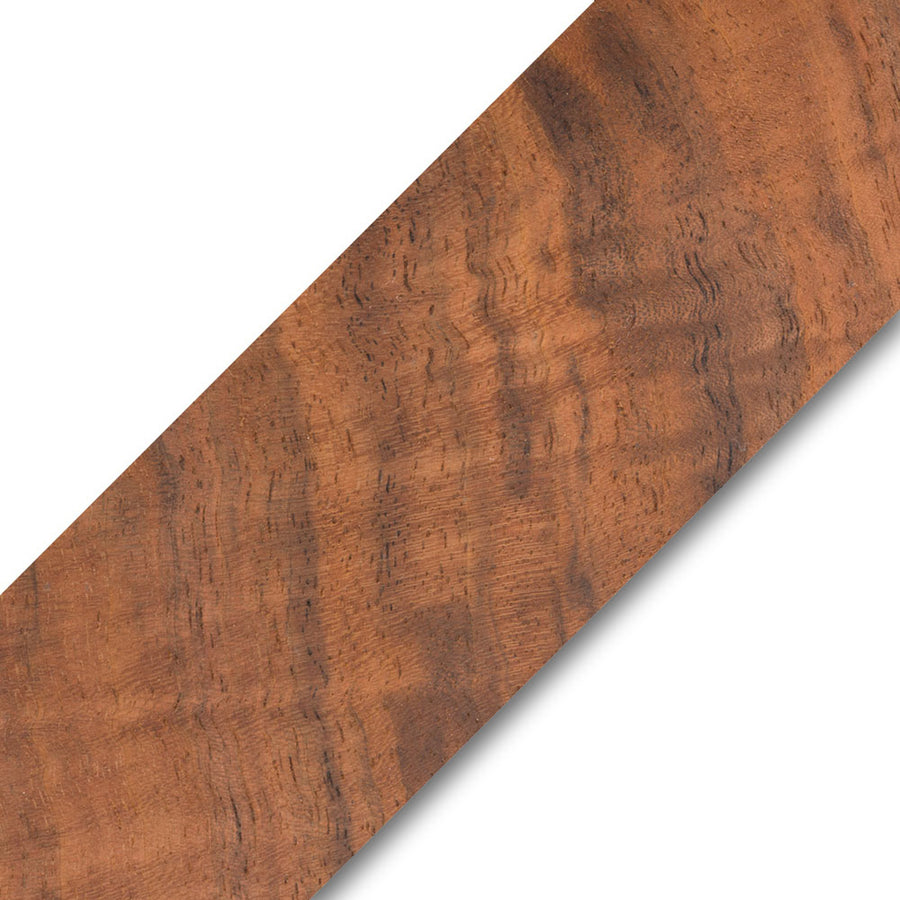
For the hats and accessories, feel free to experiment with different woods. Walnut, as used for the miner’s hat, provides a beautiful natural finish. Size here is determined by the hat or helmet that you’ll be turning.
Essential Safety
Always prioritize safety! Ensure you have:
- Safety glasses
- Dust mask or respirator
- Dust collection
- Good airflow or outdoor space for applying your finish
Turning the Head: Step-by-Step
The key to interchangeability lies in precise dimensions. We’ll be aiming for consistent measurements throughout the turning process.
Here is a downloadable PDF of the Head dimensions that we turned. Turning to these dimensions will ensure that the Emoji Decals will fit perfectly.
Step 1: Mounting the Blank & Initial Roughing
Mount your 3” x 3” blank between centers. Use a spindle roughing gouge to get the blank close to round. The goal is to remove sharp corners, not achieve a perfect cylinder just yet. Set your lathe speed to around 2000 RPM for roughing.
Pro Tip: If using a safety drive, a slight slip indicates the tailstock needs tightening. This drive is a great safety feature, preventing the piece from being thrown if a catch occurs.
Step 2: Cutting the Tenon
Once the blank is mostly round, use a skew chisel with a peeling cut to form a tenon for your chuck jaws. This allows for secure mounting. Increase your speed slightly to 2200 RPM for a cleaner cut.
Why not perfectly round now? If you make it perfectly round before drilling, remounting it in the pin jaws later might cause it to be slightly out of true, requiring more material removal.
Step 3: Preparing for the Forstner Bit
With the blank mounted in the chuck, clean up the end where you’ll drill. This surface needs to be nice and flat to ensure the forstner bit engages evenly and prevents catches. Create a small dimple with your skew to help center the bit.
Step 4: Drilling the Head
The next crucial step is drilling the center of the head with a 1-1/2” forstner bit mounted in a keyless chuck. This lightens the piece and creates the opening for remounting on pin jaws. Aim for a drilling depth that allows your pin jaws to expand and hold the piece securely. With the size of the head, drilling the entire length of the bit is just about right.
Drilling Speed: Around 500 RPM. Advance the bit slowly and back it out periodically to clear shavings.
Step 5: Shaping the Bottom & Sanding
Before flipping the piece into your pin jaws, turn the bottom radius and the bottom step. This ensures you can access and sand these areas properly. Use your spindle gouge to create a quarter-round radius on the bottom. Make sure you start your cut with the bevel rubbing on the wood, then lift the handle and smoothly rotate the tool. You don’t want to get a catch here.
Key Dimensions for the Head:
- Overall Length: 3-1/4”
- Main Body Diameter: 2-3/4”
- Bottom Step: 1/4” long by 2-7/16” diameter
- Top Step (for hat fitting): 3/16” tall by 1-15/16” diameter (to accommodate a 2” forstner bit for the hat)
- PDF Instructions
Once shaped, sand these exposed areas through progressively finer grits (180, 220/240, 320) with sand paper. Finish with a sanding sealer to create a consistent base for spray paint. Sanding sealers will prevent uneven paint absorption and make your life much easier when you paint.
Important Note: Ensure the bottom of the head is slightly concave so it doesn’t rock when placed on a flat surface.
Step 6: Final Head Shaping & Sanding
Remount the head using your extended pin jaws (I highly recommended them for smaller spindle projects). Lay out your overall length (3-1/4”). Carefully part off any excess material, leaving a small amount for final truing.
True up the surface and then cut the top step to its precise dimensions (3/16” tall by 1-15/16” inches diameter). This is the most critical dimension for hat interchangeability. Use a skew chisel with a peeling cut for a clean result. Finally, shape the top with a half-bead to match the bottom radius, ensuring symmetry. Sand the top surfaces and apply sanding sealer.
Turning the Miner’s Hat: A Custom Accessory
Now for the fun part – creating a unique hat! We’ll make a miner’s helmet.
Step 1: Mounting the Hat Blank
For the miner’s hat, a piece of walnut, roughly 5” in diameter and 2” thick, works well. Mount it on a screw chuck. Turn the lathe on very slowly while feeding the blank with moderate pressure onto the chuck to ensure it seats properly.
Step 2: Turning the Tenon
Use a bowl gouge to rough down the material and create a tenon for your chuck. Then, use a spindle gouge to refine the dovetail profile for a secure fit.
Step 3: Drilling the Hat Opening
Remount the hat blank in your chuck. Use a 2” forstner bit to drill the opening for the head. This size ensures interchangeability with the 1-15/16” diameter step on the head. Drill to a depth that allows for concaving the inner surface without compromising the shoulder that fits onto the head.
If you don’t have a 2” Bit: You can reuse the 1-1/2” forstner from earlier, then open the hole with a box scraper, skew, or gouge to the 2” diameter.
Step 4: Establishing Diameter & Concave Rim
Before shaping the outside, establish the overall diameter of the hat. Reduce the diameter now to prevent tear-out when flipping the piece, as unsupported fibers will curl and tear. Then, use your bowl gouge to create a concave surface on the underside of the hat’s rim. This allows the hat to sit flush on the head without showing a gap.
Step 5: Sanding the Underside & Sealing
Sand the concave underside of the rim through various grits (180, 220/240, 320) and apply sanding sealer. This area won’t be accessible once the hat is flipped.
Step 6: Shaping the Outside of the Hat
Flip and remount the hat using your extended pin jaws. Now you can begin shaping the exterior of the hat using your bowl or spindle gouge. Aim for a pleasing, rounded profile. Incorporate shear scraping with your gouge and use a skew as a negative rake scraper to refine the surface and achieve a smooth radius.
Step 7: Final Shaping, Sanding & Detailing
Round over the brim of the hat for a softer look. Sand the entire exterior of the hat through 320 grit.
Get Creative! This is where you can add personal touches. Consider carving, wood burning, or adding decorative detail lines with the fine point of your skew chisel (after sanding to keep them crisp).
Step 8: Sealing and Finishing the Hat
Apply sanding sealer to the hat. This helps maintain the wood’s natural color and provides an excellent base for your final finish. For the miner’s hat, a spray lacquer is recommended for a durable and enhanced finish that is very easy to apply. Apply light, even coats, allowing each to tack up before adding more.
The Finishing Touches: Painting & Decals
Painting the Head
Take your sealed wooden head outside and spray paint it with your chosen color. We found Sunshine Yellow from Ace Hardware to be the perfect yellow color. A light coat allows some of the wood grain to show through for a unique texture. For a more opaque finish, apply a primer first or use multiple coats.
Adding Details to the Hat
Once the hat’s finish is cured, you can add small details like a decorative cabochon for a miner’s light, as demonstrated in the video. The Starburst Insert looks great and reflects light in a fun way. You can also turn a small disc out of a lighter wood for the light. Use a strong adhesive like thick CA glue.
Applying Face Decals
Finally, add character to the head with Emjoi Decals. These are available in various packs and come with transfer tape for easy application. Carefully cut out your desired face, peel off the backing, center it on the head, and rub it down firmly before removing the transfer tape. Ensure your spray paint is fully cured to prevent any lifting.
The Finished Figures: Endless Possibilities!
And there you have it! A unique, customizable wooden figure. The beauty of this project lies in its modularity. You can create a whole collection of heads, hats, and accessories, mixing and matching to create new personalities every time.

Don’t be afraid to experiment with different wood types, carving techniques, dyes, and embellishments. These figures are a fantastic way to utilize scrap wood and unleash your creativity on the lathe.
