
How to Turn a Wand that Glows in the Dark
Turning a magic wand is a lot of fun because it’s an easy woodturning project that still allows for lots of creativity in your turning. Everyone wants a Harry Potter wand, and to make this one stand out from the rest I’m going to make a wand that is fire-blackened and glows in the dark. It’s easier than you might think.
Prepare the Blank
For this project to work, you must turn a blank with open grain. I’ll be using an Ash blank that is 1-1/2″ x 1-1/2″ x 12″.
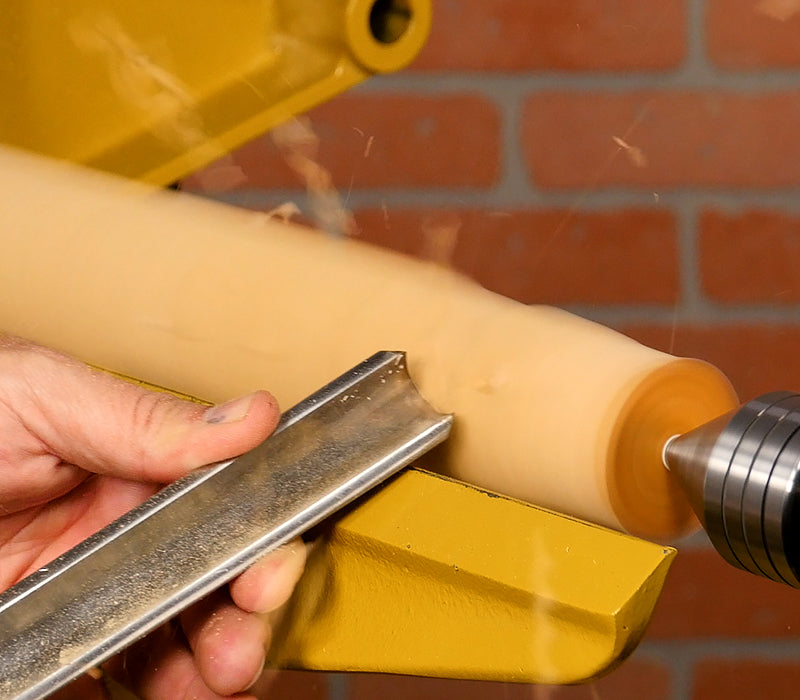
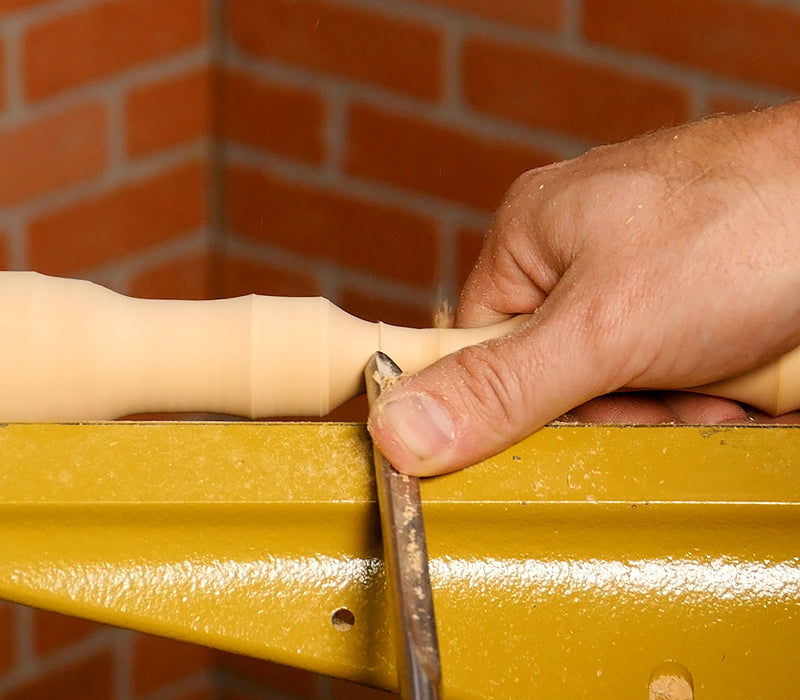
Start by mounting the blank between centers, and set the lathe to about 2,500 rpm, then rough turn the blank to round using a spindle roughing gouge.
Turn and Sand the Wand
Now for the fun part – turning your magic wand. Use a spindle gouge to turn the wand to your desired shape, leaving about 1/4” of waste material on the ends. There are no rules for turning a wand, so have fun with shapes and creative textures.
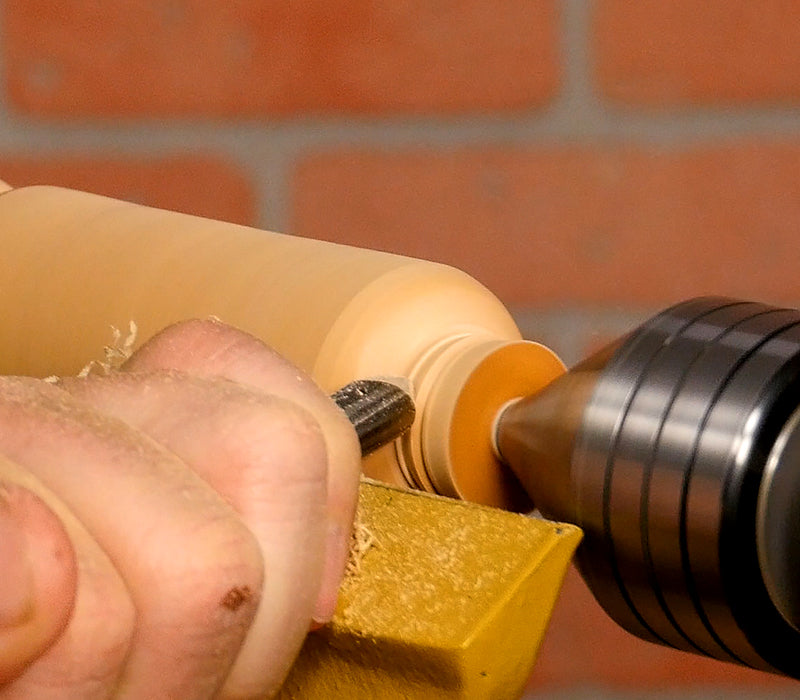
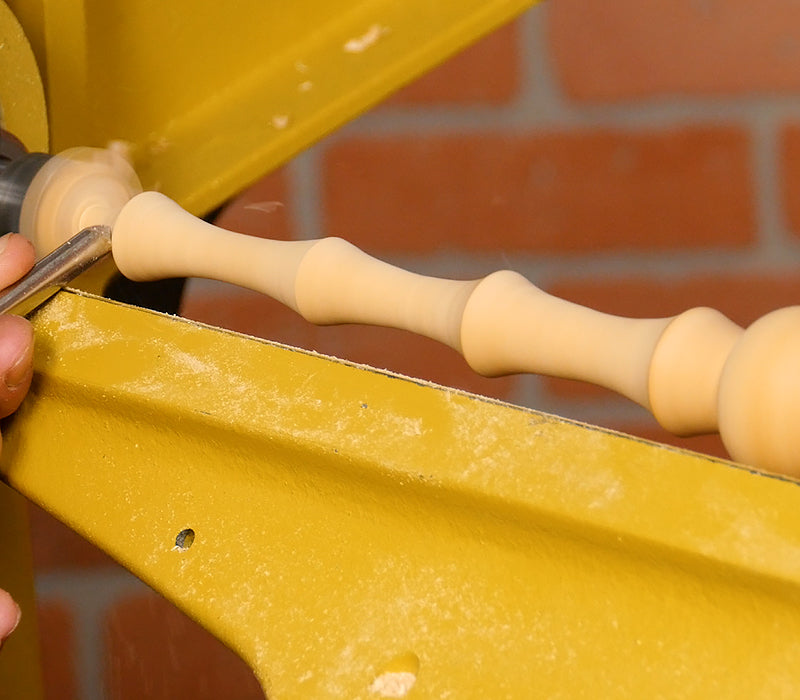
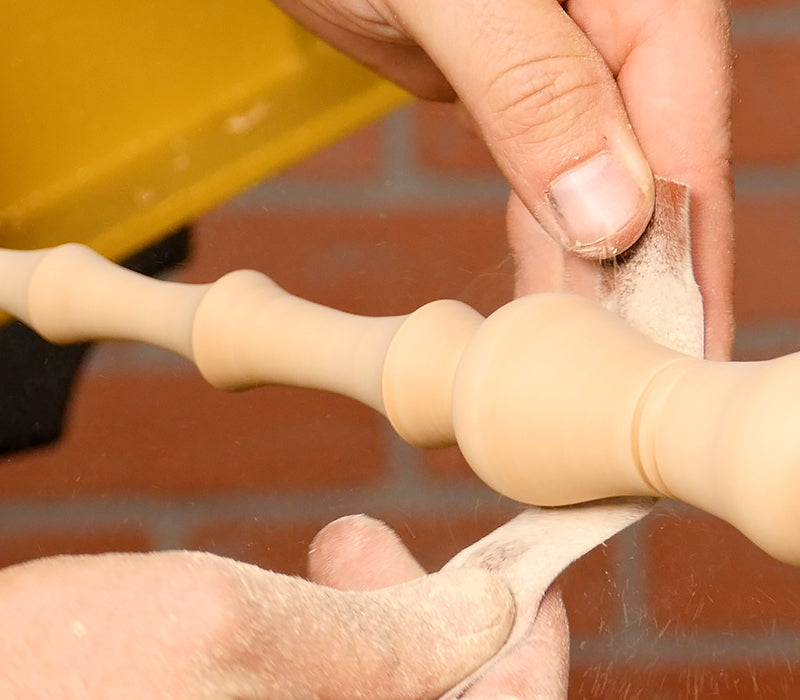
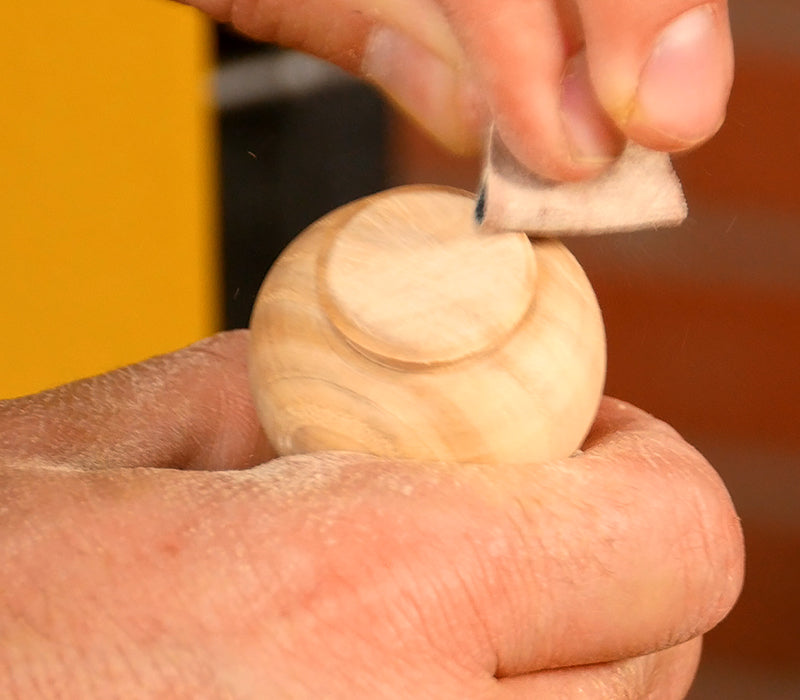
Once you’re happy with the shape, sand it through 320 grit.
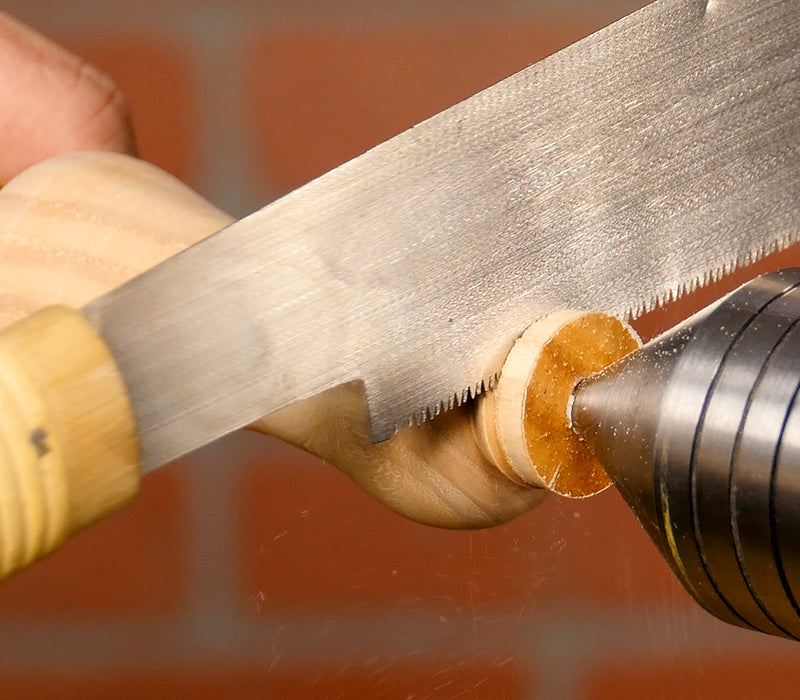
Take the wand off the lathe and saw off the nubs with a small hand-saw, then sand the ends as well.
Make it Glow in the Dark
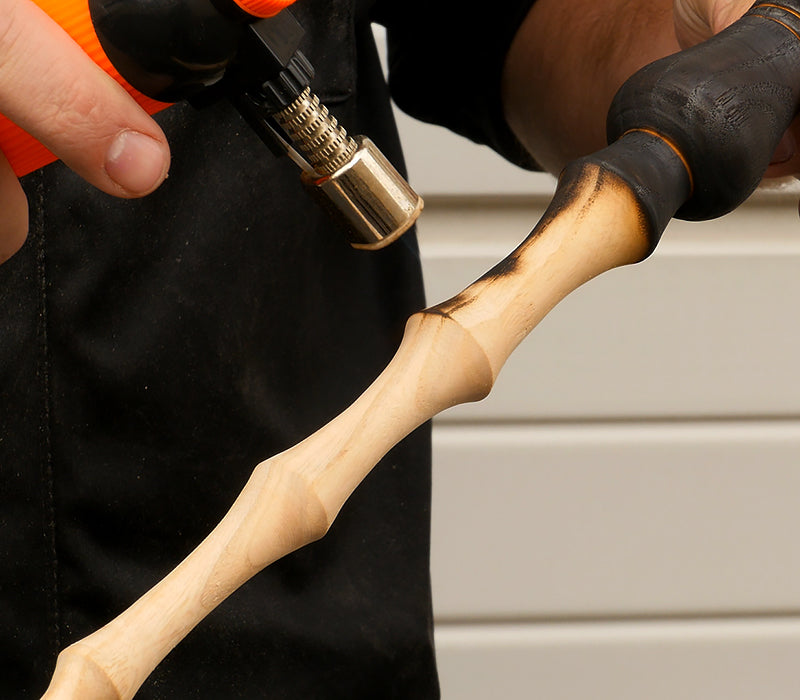
First we need to torch the wand. Not only does this make it look great, but it importantly breaks down the soft areas of the wood – giving the glow inlay holes to fill.
The torching process is easy, but to be safe do it in a well-ventilated area away from anything flammable. Preferably outdoors.
Hold the flame nice and close to the wand, evenly blackening the surface.
Once it’s blackened, use a steel bristle brush and thoroughly brush the wands surface. Be aggressive here, because you want to clear out all the soft grain.
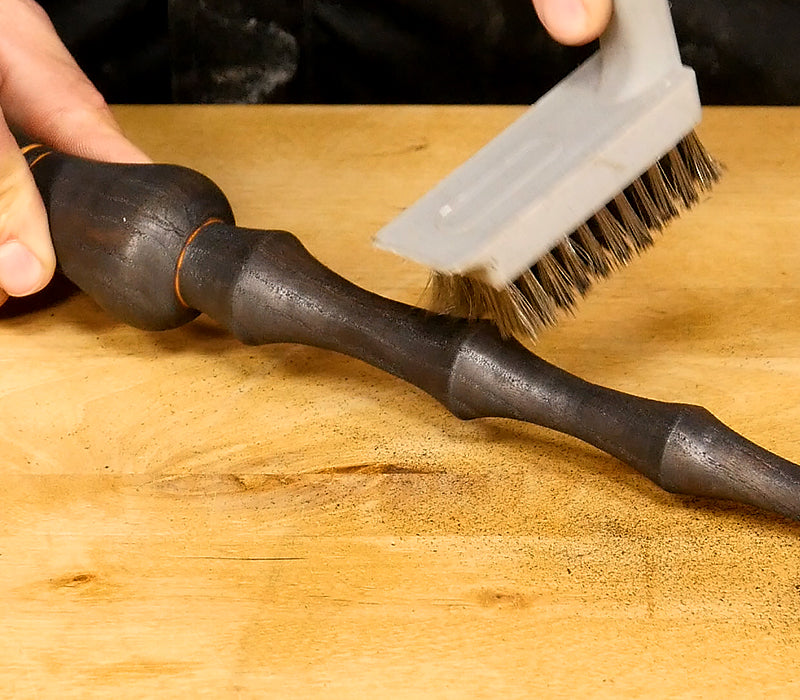
Now just clean out the pores with an air compressor or a rag.
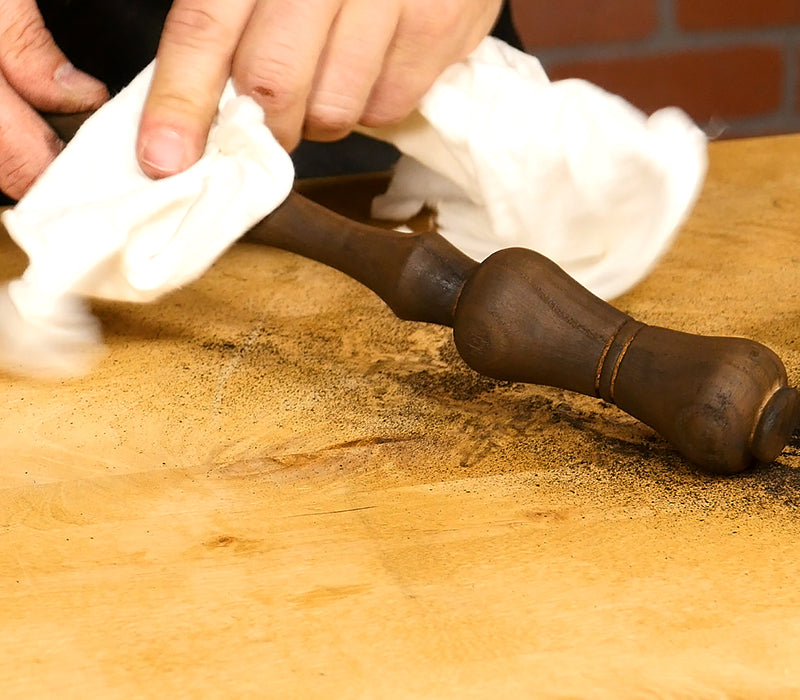
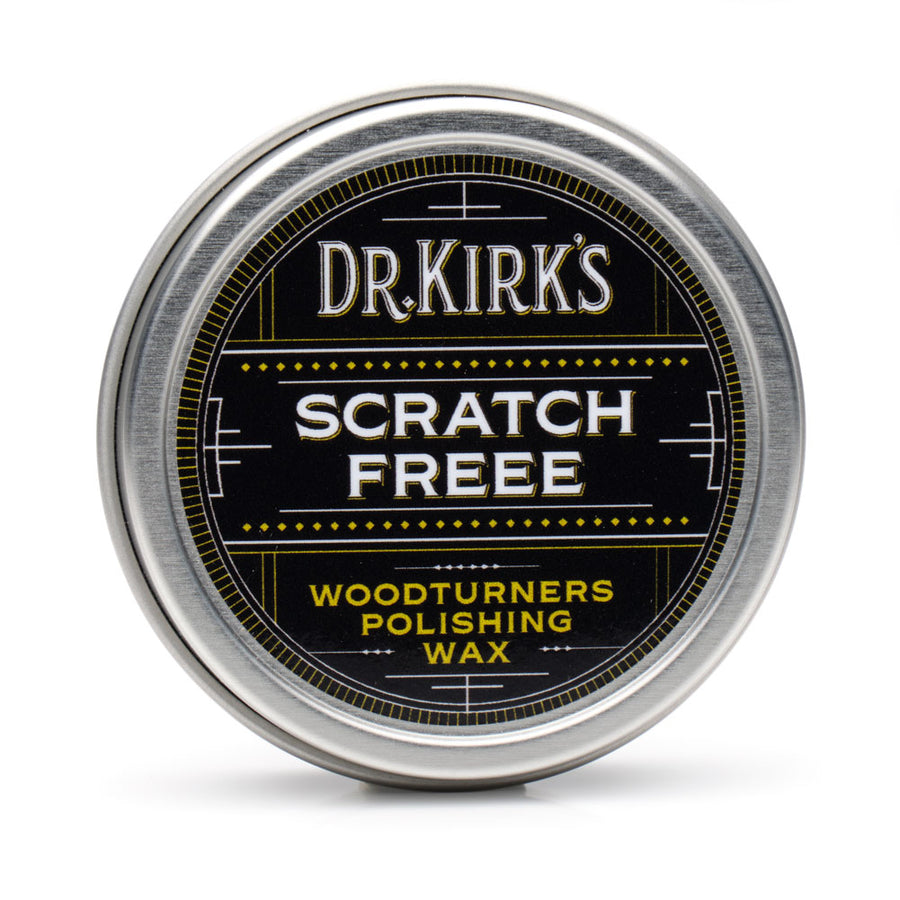
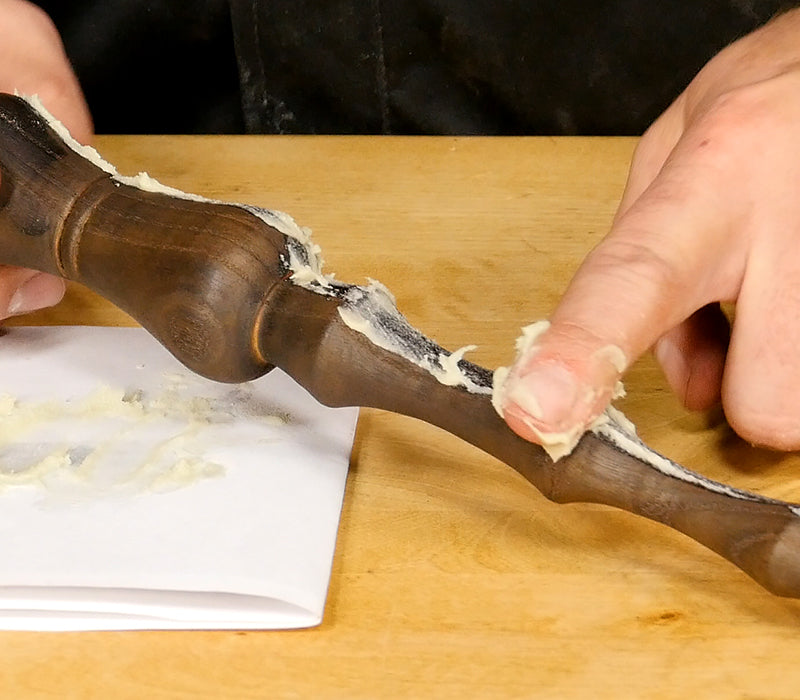
To make the wand glow, I’ll mix some scratch freee wax and glow powder together. Make sure to mix plenty of wax, so it’ll fill in the open surfaces.
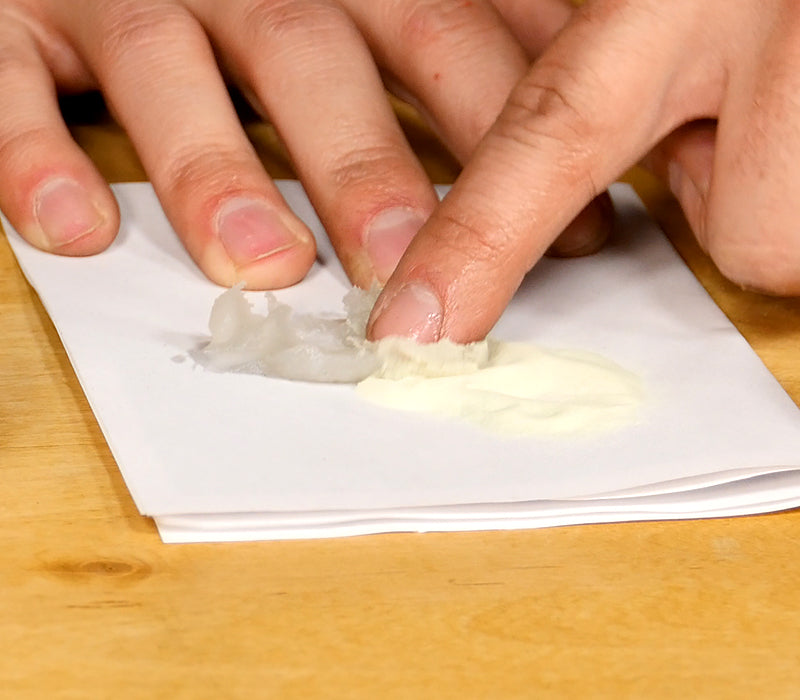
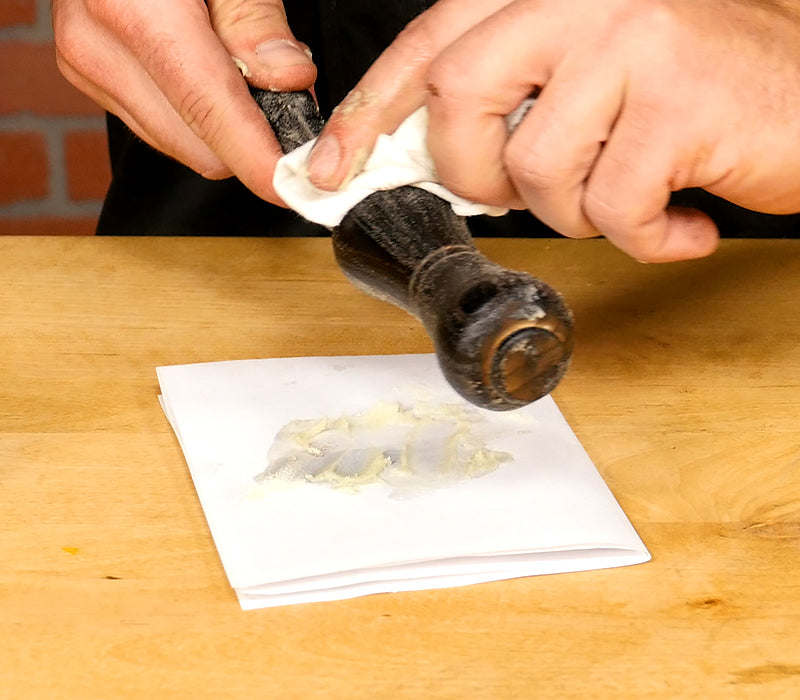
Liberally coat the mixed wax onto the entire surface, then wipe off any excess with a clean rag. I like using my fingers so I can feel the surface of the wood, but you can do this with gloves or a rag if you want.
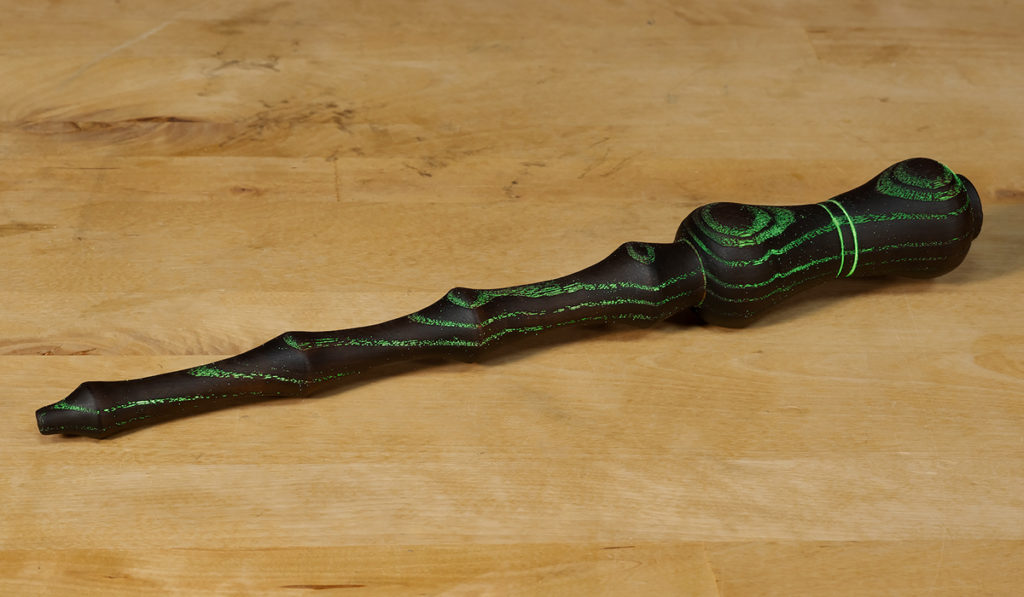
Our wand is all finished, so hit the lights and watch it glow!
Supplies Used:
Ash Blank
Glow Inlay Powder
Scratch Freee Polishing Wax
Drive and Revolving Centers
Spindle Roughing Gouge
Spindle Gouge
Sand Paper
Cotton Rags
Featured posts

Leave a comment