
Coloring Wood by Jimmy Clewes
Using dye to color woodturnings is a fun and exciting way to make any piece of wood look spectacular. In this article, professional woodturner Jimmy Clewes shows you how to use a multi-layer coloring technique to create a stunning effect on your woodturnings.
Coloring Preparation
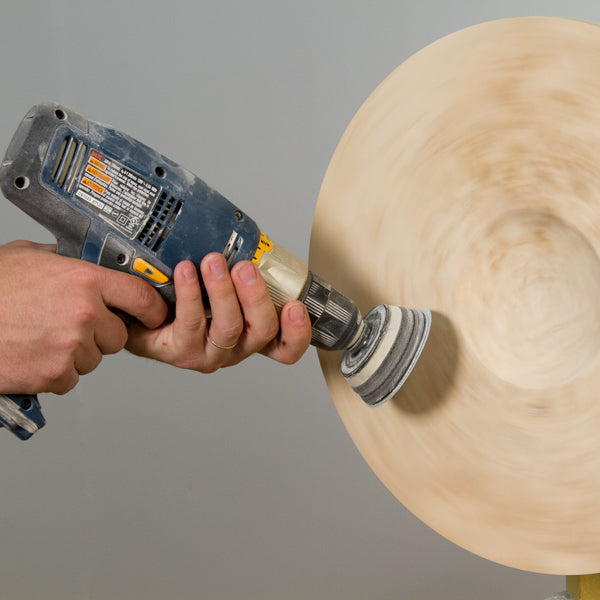
After turning your piece, the coloring process can be started. It is very important to sand the piece correctly. In my mind, the initial sanding, as with any finishing process, is the most important.
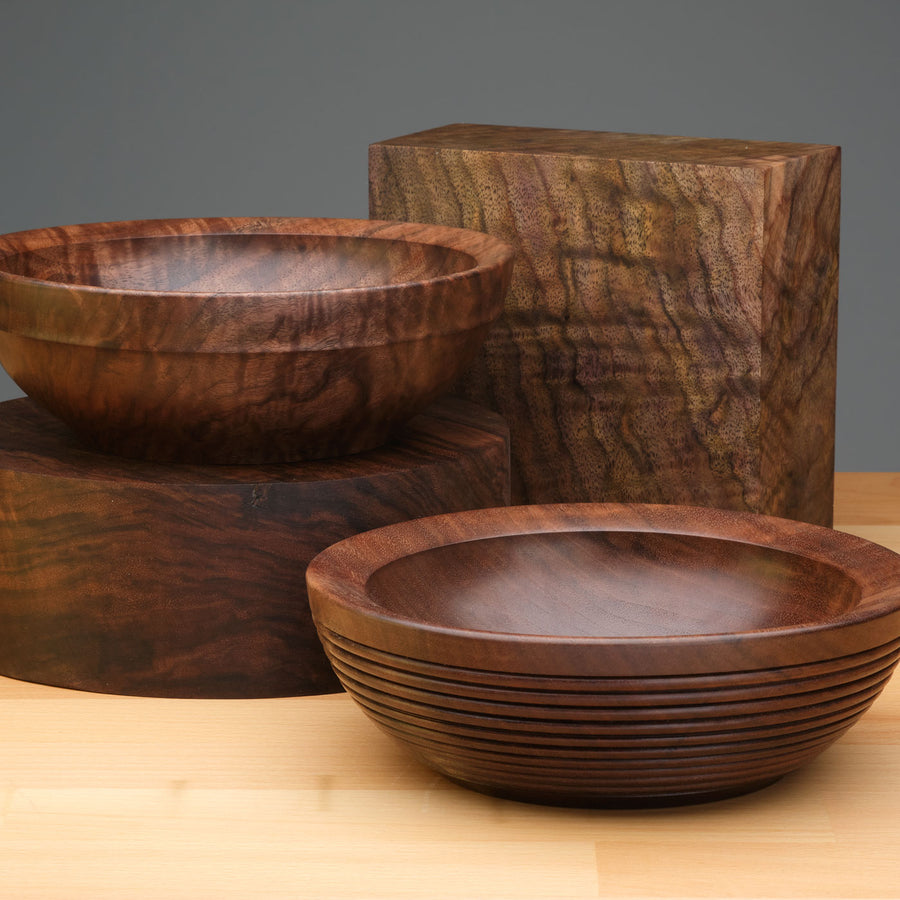
I usually start sanding with 180 grit but this depends on the finish you have from the tool. A cut surface will be better than a scraped surface. You must ensure that the surface to be colored is flawless and that any tear-out or disturbed grain is eradicated. Remember, if you are using a rippled or burl wood (both of which are most desirable and gives an aesthetically pleasing result) the grain may be running in different directions so inspect the surface very closely. If there are any flaws on the surface they will show up when you apply the first color. Sand through the grits, 220, 240, 320 without missing one, continue up to 400 grit. Remember, if there is no tear-out after 180 grit then all you are doing is removing the abrasions made by the previous abrasive.
The dyes that I prefer to use are a pre-mixed; alcohol based dye. The advantage of using this type of dye is that they are lightfast, which means that they stay bright and vibrant. They are also spirit based and therefore dry quicker, or can be “flashed off” using a lighter or match.
Note: It is solely your responsibility to take the necessary safety precautions when using this technique so as to prevent a fire or personal injury. I don’t accept responsibility for burnt down workshops!
Being spirit based allows for blending or mixing on the surface of the wood, by applying alcohol neatly with a spray or in a more controlled manner with a cloth or sponge soaked in alcohol. The colors also have a 5% shellac content, which binds the color to the alcohol. This will aid the finishing process, as with each coat of color the wood will become more progressively sealed, therefore the later colors soak in less.
Color Selection
Choice of colors and a basic knowledge of colors is useful but not essential. The three primary colors of blue, yellow and red will play a large part. Depending on which colors you mix together, you will get different results. Blue and yellow make green, red and yellow = orange, red and blue = purple. The three colors I like to use are blue, green, and yellow or blue, purple, and yellow. Sometimes I may add a red.
Application

For example, the first color I would use would be blue, this can be applied with a brush, cloth or sponge and covers the whole surface. Since the color is alcohol based it will dry in under a minute.
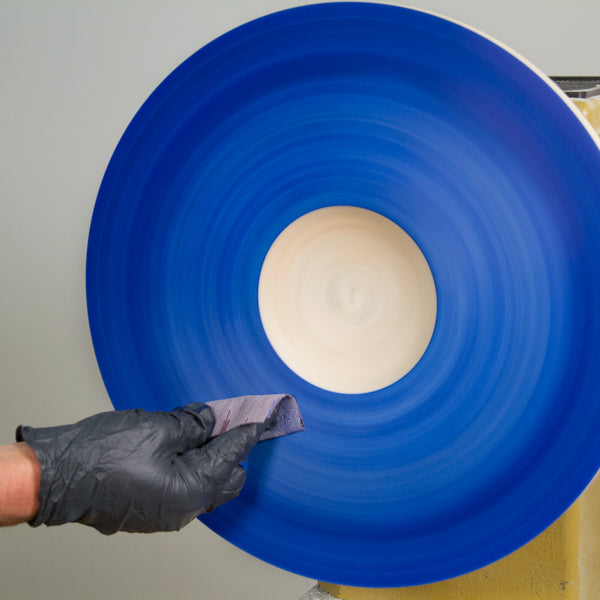
When dry, sand back with 320 grit to remove some of the blue. Depending on how much of the blue you remove will determine the end result, in that the less you remove the darker the whole piece will be upon completion. Next, I would apply the green. This color will take to the areas more where the blue has been removed. If you are using rippled wood, such as sycamore or maple, the blue stain will penetrate more in the short grain and therefore some of the color will remain when the long grain next to it will be exposed. The green could be applied to the surface in a dappled or varied manner and does not necessarily need to cover the whole surface.
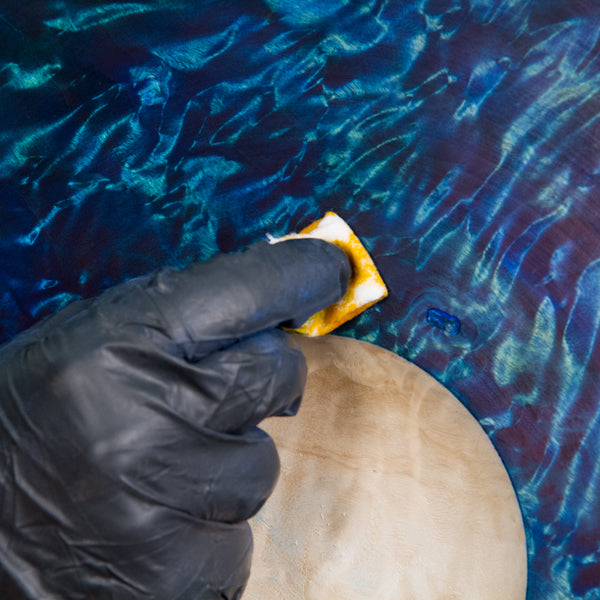
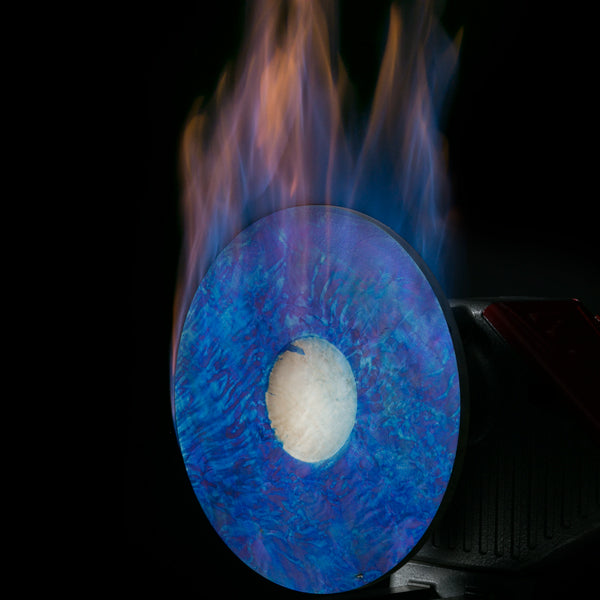
Cut this back with 400 grit again to a degree where you will gain lighter wood to take the next color of yellow. The yellow can be used sparingly and again could be applied in a dappled manner. The yellow will lighten parts of the green and make some of the blue areas a different shade of green. The final sanding should be with 600, 800, 1000-grit abrasive. This will prepare the surface for the gloss spray finish. If you need to reduce the amount of lightness caused by the application of yellow, just cut this back with 600 grit. Remember that the blue and the green coats seal the wood twice therefore the yellow will not have penetrated as far. Other techniques I have used to blend the 3 colors together are to use a sponge soaked in alcohol or to spray the surface with alcohol. If spraying, keep the piece rotating in order to stop “drips” or “runs” from occurring. The colors can be “fixed” by igniting the alcohol and rotating the piece by hand. The alcohol burns out quickly and should not damage the turning.
Note: It is solely your responsibility to take the necessary safety precautions when using this technique so as to prevent a fire or personal injury. I don’t accept responsibility for burnt down workshops!
Finishing Over Colors
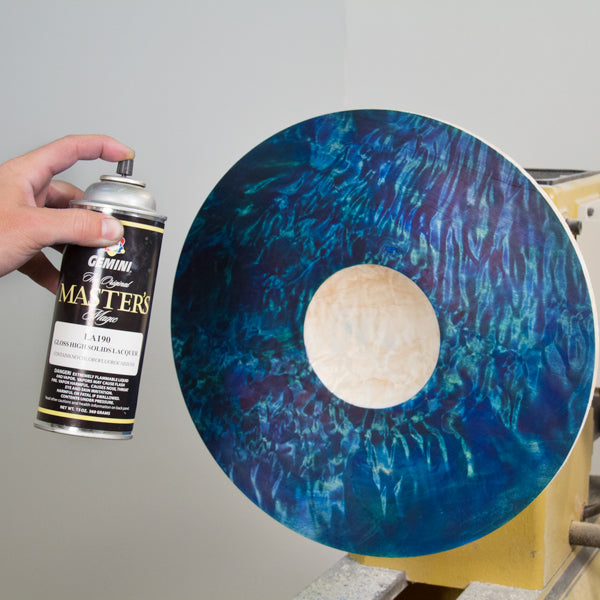
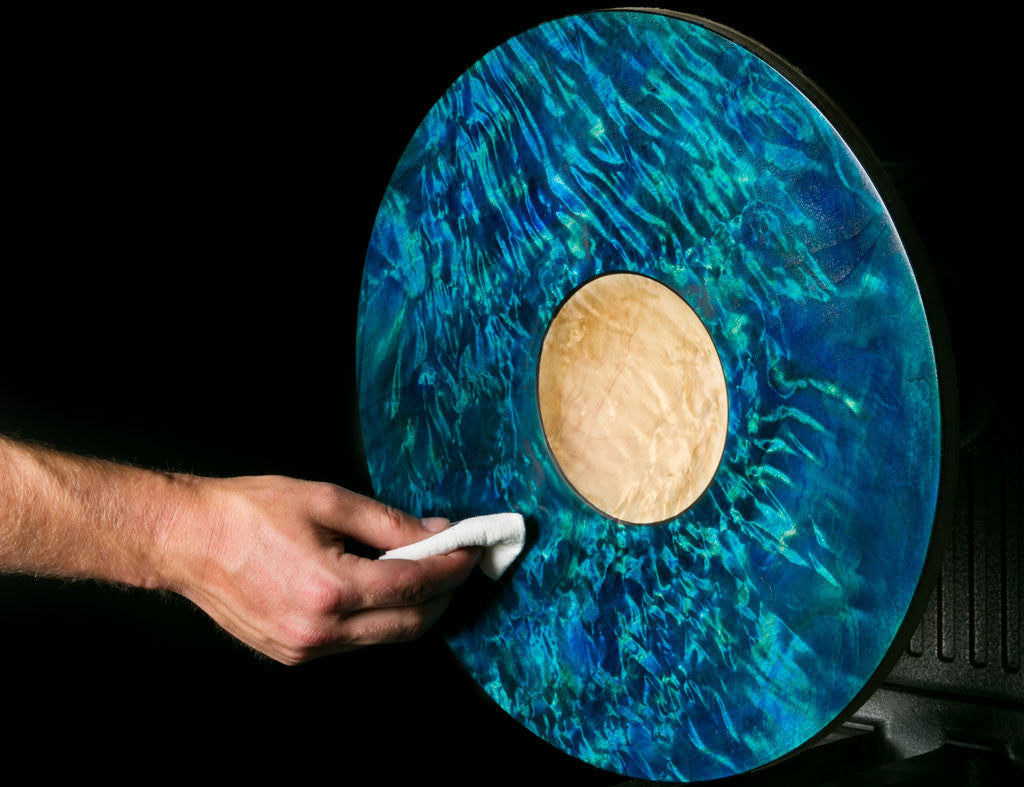
The final finish is a spray gloss. I like to use a pre-catalyzed lacquer and apply several coats, cutting back between each cured coat with 1500-grit abrasive. It’s important to make sure each coat is fully cured before cutting back. This multiple coat process will build up to a flawless finish. With experience and trying different finishes, oils etc., I have found that there is more depth and the color detail is far superior with a spray gloss finish. As a point of interest while demonstrating at the Craft Supplies USA symposium in Provo, Utah I used a great product called Masters Magic Spray Lacquer, kindly supplied by Craft Supplies USA which is conveniently in a can! You should finish up with a flawless finish, with the colors bright and vibrant. Colored, rippled wood can have an almost iridescent look.
Hopefully these techniques will help you achieve a decorative touch on your next project. Try experimenting with different colors and multi-layering dyes to find what works best for you. Leave any comments or suggestions you might have in the comment section below, we’d love to hear them!
Items Used
Sanding Discs
Chestnut Spirit Stain
Cotton Flannel Squares
Sandpaper (sheets)
Master’s Magic Spray Lacquer
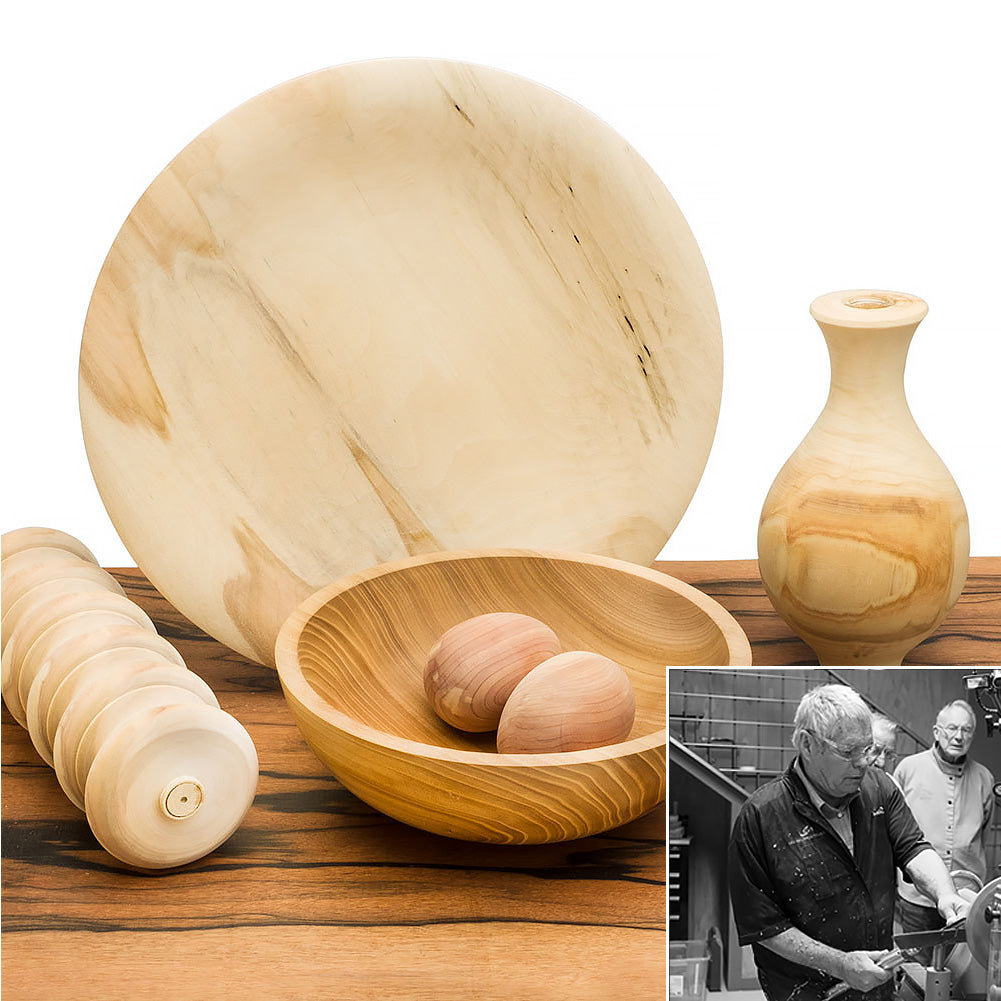
About Jimmy Clewes-
Jimmy is not your ordinary woodturner. Upon a first meeting one would think of him as a renegade, a free thinker and not within the stereotypical image of a woodturner. His charming British style, unending wit, creative mind and magnetic personality are only some of the attributes that make him popular in the woodturning demonstration circuit.
When asked what drives him, he shares, “My energy comes from those around me. When I can stir the creativity of one’s mind, that for me is very satisfying. As with any art form, expression is only as limited as one’s mind and I want to raise the bar and create an awareness of the art form that has been virtually unknown to most people.”
Featured posts

Leave a comment